
debian安装配置novnc
debian安装配置noVNC
在安装VNC前,应该先行安装好GUI桌面,我使用的是KDE。
安装VNC
sudo apt install tigervnc-standalone-server tigervnc-common tightvncserver
切换到需连接VNC的用户并设置VNC的密码:
su user
vncpasswd
按提示设置好密码后,切换到需连接VNC的用户后,启动vnc服务:
vncserver -localhost no -geometry 1440x900
# ------------------
# 或直接使用tigervncserver,如果系统安装的是xfce4桌面,就要用 /usr/bin/xfce4-session
tigervncserver -xstartup /usr/bin/xfce4-session -geometry 1280x800 -localhost no :1
配置VNC server
TigerVNC Server 安装好后,它的主要配置文件在目录:/etc/tigervnc/, 并且还为我们添加了一个系统Service文件:/lib/systemd/system/[email protected]以方便我们运行VNC Server 服务。
首页查看desktop environment, 在用户目录下添加 ~/.vnc/config 文件
# 列出所有桌面环境(.desktop 后缀)
ls /usr/share/xsessions/
# 添加一个新 VNC Server 配置
nano ~/.vnc/config
根据桌面环境, 配置 ~/.vnc/config 以下内容:
# 确认桌面环境
# ls /usr/share/xsessions/
# for xfce.desktop
# session=xfce
# for plasma.desktop
# session=plasma
# session=gnome
session=gnome-xorg
geometry=1200x720
localhost
alwaysshared
编辑 sudo nano /etc/tigervnc/vncserver.users 添加user, 添加以下内容:
# TigerVNC User assignment
#
# This file assigns users to specific VNC display numbers.
# The syntax is <display>=<username>. E.g.:
#
# :2=andrew
# :3=lisa

:1=luowei
启动 VNC Server服务并设置enable自启动
# start the VNC Server service
sudo systemctl start tigervncserver@:1.service
# enable it start automatically on boot
sudo systemctl enable tigervncserver@:1.service
# verify it's running status
sudo systemctl status tigervncserver@:1.service
允许自启动后,会创建一个软链接: /etc/systemd/system/multi-user.target.wants/tigervncserver@:1.service 指向这个在安装TigerVNC server自动添加的service文件/lib/systemd/system/[email protected].
安装 noVNC 与 websockify
sudo apt install novnc python3-websockify

# 复制 vnc.html 为 index.html
sudo cp /usr/share/novnc/vnc.html /usr/share/novnc/index.html
启动完vnc服务后,根据输入的信息启动novnc,注意vnc服务的端口 9000:
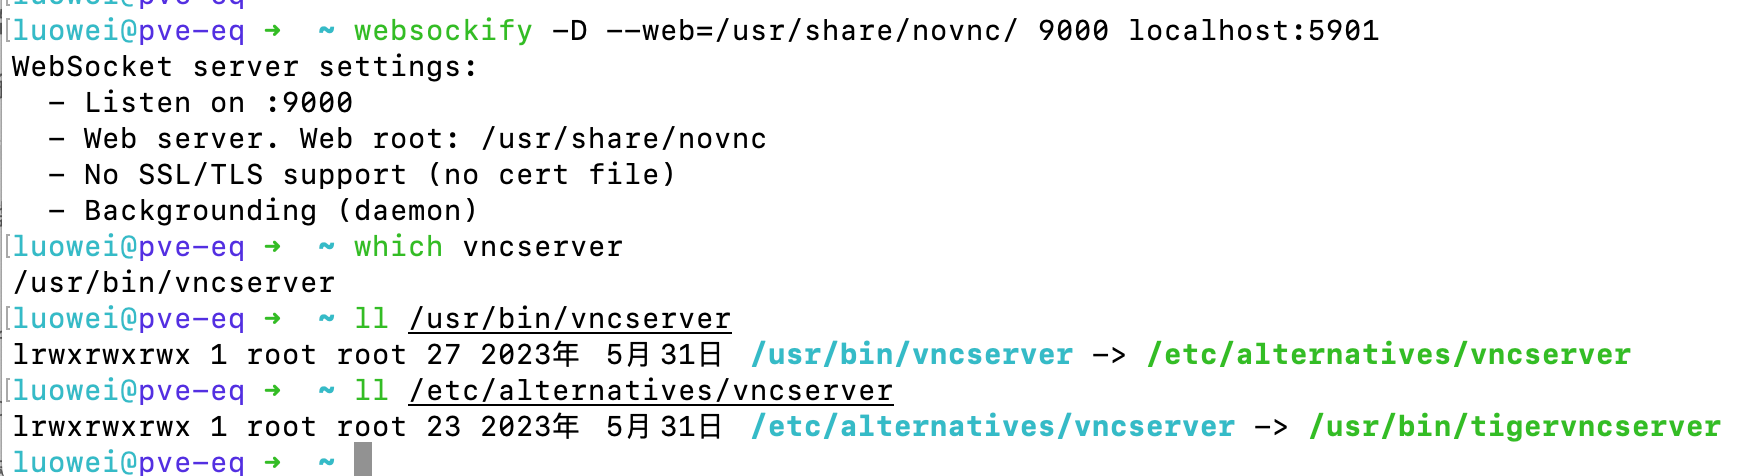
websockify -D --web=/usr/share/novnc/ 9000 localhost:5901
# ----------
# 若要为noVNC服务生成一个私有证书
openssl req -x509 -nodes -newkey rsa:3072 -keyout novnc.pem -out novnc.pem -days 3650
#将生成的证书 放到可用的路径中,这里是放到了/home内
debian@lgb:~$ mv novnc.pem /home/
# 启用noVNC
websockify -D --web=/usr/share/novnc/ --cert=/home/novnc.pem 9000 localhost:5901
接下来你可以使用浏览器访问 ip:41181 来连接vnc了。
创建一个系统服务来自启动 websockify
以debian系统为例,先创建一个vncserver 与 websockify 启动脚本: sudo nano /usr/local/bin/start_websockify.sh, 添加如下内容:
#!/bin/bash

# 启动 VNC 服务器
# vncserver -localhost no -geometry 1352x878

# 启动 websockify
/usr/bin/websockify --web=/usr/share/novnc/ 9000 localhost:5901
授执行权限:sudo chmod +x /usr/local/bin/start_websockify.sh
创建一个新的服务文件:sudo nano /etc/systemd/system/websockify.service, 并添加以下内容:
[Unit]
Description=Websockify Service
After=network.target

[Service]
ExecStart=/usr/bin/websockify --web=/usr/share/novnc/ 9000 localhost:5901
Restart=always
User=nobody
Group=nogroup
Environment=PATH=/usr/local/sbin:/usr/local/bin:/usr/sbin:/usr/bin:/sbin:/bin

[Install]
WantedBy=multi-user.target
注: service文件中命令要写成:/usr/bin/websockify --web=/usr/share/novnc/ 9000 localhost:5901 ,否则会报错:Failed to start websockify.service - Websockify Service. 因serivce默认已经是 daemon 方式运行。
重新加载 systemd 配置, 并启动服务并设置为开机启动
# 重新加载 systemd 配置
sudo systemctl daemon-reload

# 启动服务
sudo systemctl start websockify
# 检查服务状态
sudo systemctl status websockify

# 设置服务开机自动启动
sudo systemctl enable websockify
常用命令
一些常用的需要的命令
# 查看vnc服务信息:
vncserver -list

# 关闭某个vnc服务:
vncserver -kill :1

# 查看websockify的进程:
ps aux | grep websockify

# 杀死所有名为 websockify 的进程
pkill websockify

# 禁用服务
systemctl disable vncserver
# 删除服务
rm /etc/systemd/system/vncserver.service
# 服务文件更改后,重新加载 systemd 配置以使更改生效
systemctl daemon-reload

# 使用 tasksel 安装桌面环境
sudo apt install tasksel
sudo tasksel

# 查看系统有哪些桌面环境
sudo tasksel --list-task

ls /usr/share/xsessions/
# or
ls /usr/share/wayland-sessions/


# list vncserver
vncserver -list

# 启动 vncserver
vncserver -localhost no -geometry 1352x878
# or
sudo systemctl start tigervncserver@:1.service

# 停掉 vncserver
vncserver -kill :1
显示管理器的查看与切换:
#查看当前使用的显示管理器,这里我的输出是/usr/bin/sddm,也就是使用的是sddm显示管理器。
cat /etc/X11/default-display-manager

#更改显示管理器,这里例子更改为lightdm显示管理器,也就是xfce的显示管理器
sudo dpkg-reconfigure lightdm
dpkg-reconfigure 是 Debian 和基于 Debian 的系统(如 Ubuntu)中的一个命令行工具,用于重新配置已安装的软件包。它允许用户配置软件包的设置,尤其是在安装后需要更改某些选项时。
debian修改桌面环境(一般情况下不用改)
Debian 提供了 update-alternatives 工具,可以用来管理系统中的默认应用程序。使用update-alternatives可修改会话管理器 x-session-manager 的默认选项
sudo update-alternatives --config x-session-manager

# 把优先级调到在列表中的最高即可改成自动模式
sudo update-alternatives --install /usr/bin/x-session-manager x-session-manager /usr/bin/startplasma-x11 60
并且使用以下可修改 x-window-manager 的默认选项
sudo update-alternatives --config x-window-manager

# 把优先级调到在列表中的最高即可改成自动模式
sudo update-alternatives --install /usr/bin/x-window-manager x-window-manager /usr/bin/kwin_x11 61
debian关闭图形界面_配置Debian系统不启用图形界面
修改Grub配置文件启用命令行界面
- 打开grup配置文件
sudo nano /etc/default/grub; - 修改
GRUB_CMDLINE_LINUX=""修改为:GRUB_CMDLINE_LINUX="text"; - 更新grub
sudo update-grub; - 更新系统服务管理器配置:
sudo systemctl set-default multi-user.target; - 重启:
sudo init 6;
参考:
linux桌面配置novnc通过web访问
Debian11.6配置noVNC做远程桌面服务
Debian12安装VNC及novnc
How to Install VNC Server on Debian 12
How to Set Up and Install VNC Server on Debian 12
Debian https://wiki.debian.org/DisplayManager
debian关闭图形界面_配置Debian系统不启用图形界面
Debian 12 KDE Plasma 2024 install guide
Debian/Ubuntu使用tasksel安装桌面环境